Re-roofing:
A step by step guide
Let’s face it, a re-roof is a ‘grudge purchase’. When you do decide you have to replace yours, you want to do it quickly, inexpensively and with as little fuss as possible. That’s what the team at Ultimate Roofing are trained to accomplish; below is a step-by-step schedule of the process.

First Contact
Contact us requesting a quote for a re-roof and we will be in touch.

Roof Appraisal
We visit your home, examine your roof, discuss product choices and any issues that may be evident from your particular situation. We’ll then provide a quote to replace your roof in the profile of your choice.

Make A Date
On accepting the quote, a 50% deposit is usually payable and the work is scheduled in for an agreed date. (Bear in mind that all roofing is weather-dependant so hard-and-fast dates may require a bit of wiggle-room!)

Timely Installation
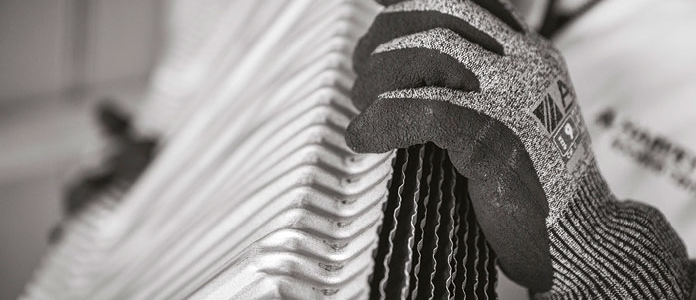
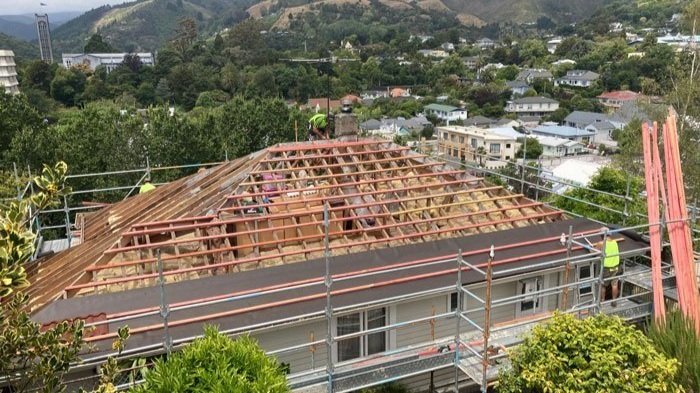
Installation generally takes about a working-week from start to finish and happens in clear and practiced steps:
- Erect scaffolding and roof-edge safety measures
- Remove old roofing material and dispose of off-site
- Check the roof sub-structure, prepare surface and install new roofing battens if necessary
- Install new roof complete with all hips, ridges, flashings etc (usually about a week)
- Clean up roof rubbish around your property and perform final inspection of new roof

Final Sign Off
Any remaining payment is now due and we’ll provide you with your Gerard warranty certificate and maintenance guide.
Why choose Gerard for your re-roof?
A lighter load
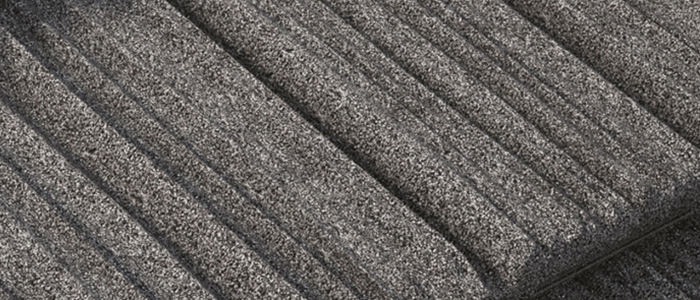
Where a concrete or clay tile roof could weigh 10 tonnes or more, a Gerard roof can weigh just one tenth of that, which is particularly reassuring in an earthquake.
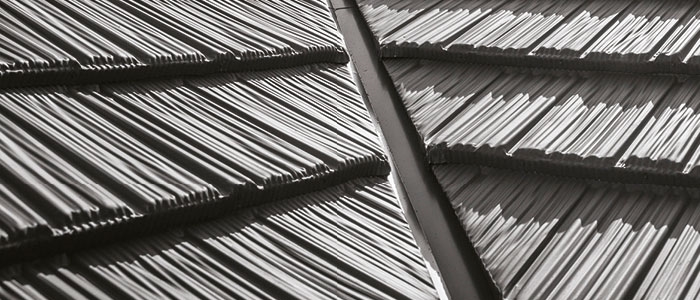
The interlocking system
Gerard steel roof panels lock together to form a singular weathertight unit. Furthermore, the design eliminates any gaps where flying embers might enter.
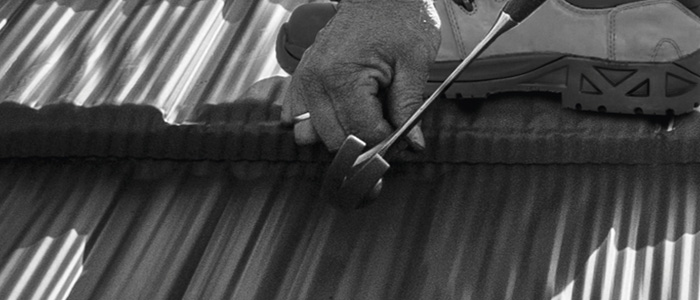
Horizontal fastening
Unlike long-run and heavy tile roofs, Gerard steel panel roofs are fastened at right angles to the wind’s lifting forces – holding on tight even in Category 3 hurricanes.
Up to seven protective coatings
A Gerard roof has up to seven different coatings applied for long lasting protection. The final layers are applied after the panels are formed to avoid surface cracking.
Our Re-roofing projects

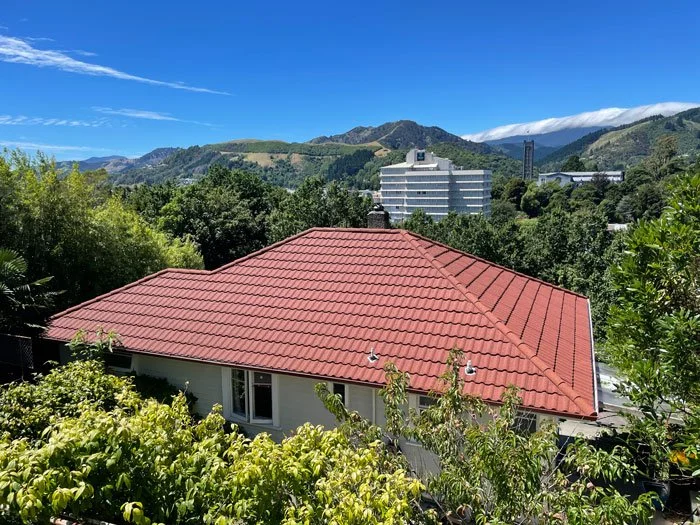
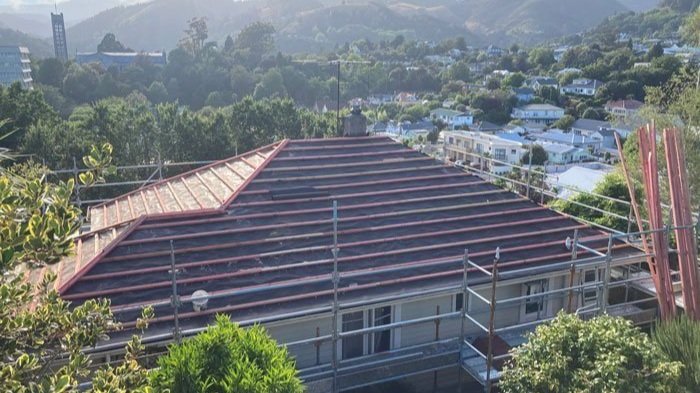
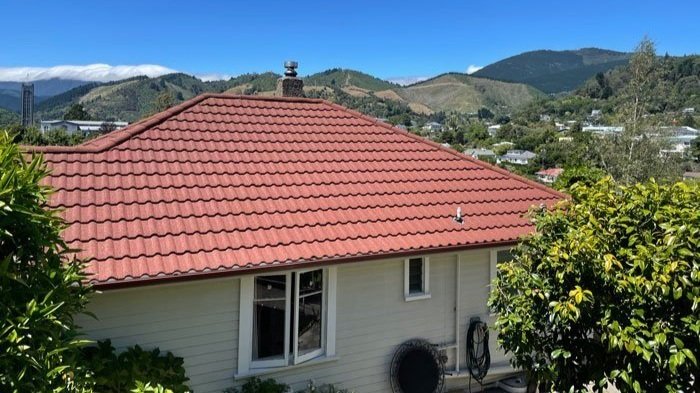
29 Wellington St, Nelson
A sharp re-roof for the lovely Sharpe's.
This old concrete tile roof was replaced with Gerard steel tile in Milano profile and a Terracotta textured finish. The fascia and gutter was replaced in a Scoria colour.
A challenging steep site with difficult access and no room for a skip was no problem for our team. Not only were the owners easy to work with on this project, so was the team at Waimea Scaffold.
“We are writing to commend the team at Ultimate Roofing for a great job well done. We are over the moon with our new roof.
From our original enquiry to the finished project, Ultimate roofing has made the process easy for us. They sorted everything. We had great communication from the beginning and coordination with their choice of scaffolding company was impressive. Once their tradesmen arrived everything proceeded like clockwork. All of the guys’ work ethic was fantastic.
We live at 29 Wellington St. in Nelson; we’re on the low side of the road so you can see our new roof brilliantly. If you’re thinking of roofing, have a shufty at ours.
So I dare say after a rave like that you’ll be wondering if we’d recommend Ultimate Roofing? You bet.”
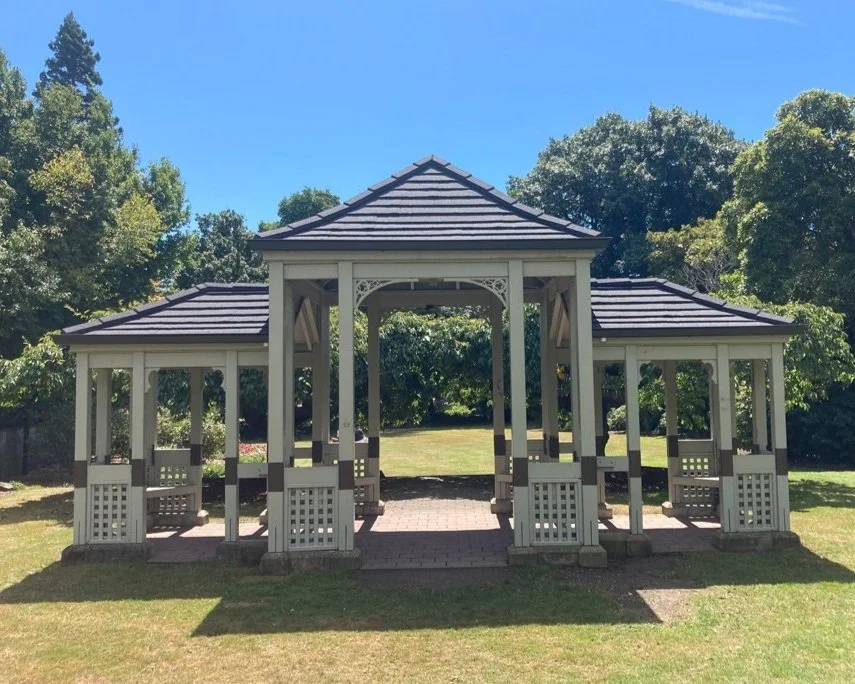
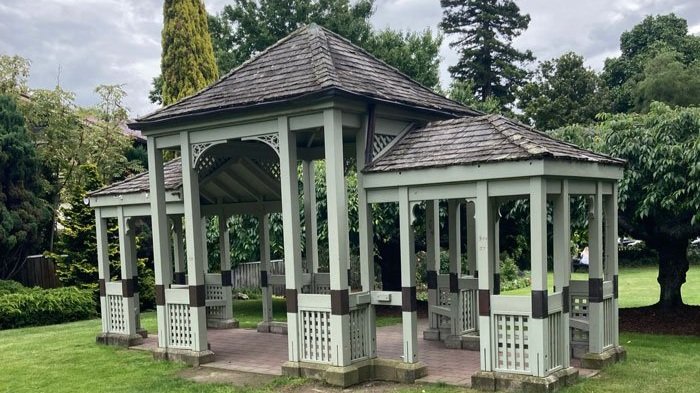
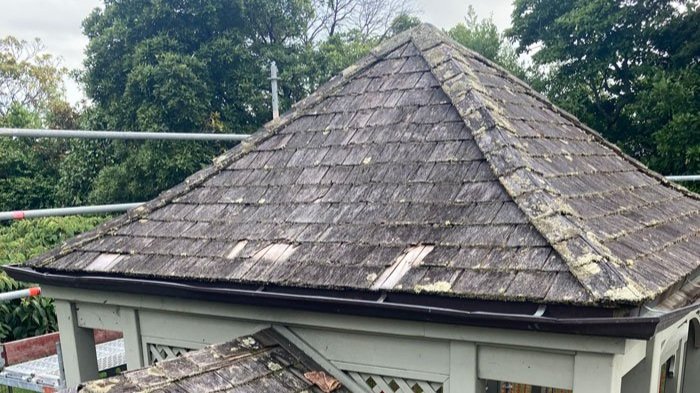
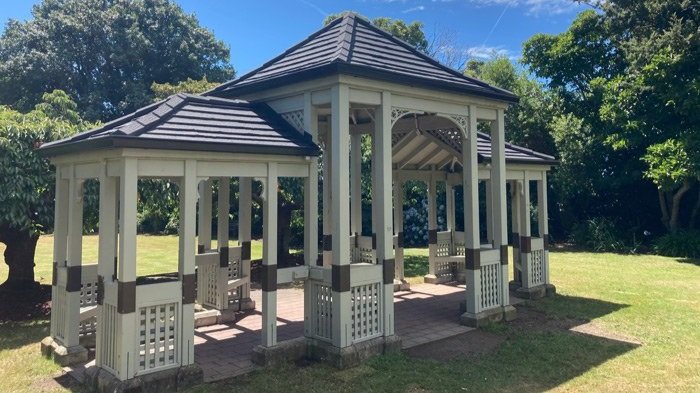
Washbourn Gardens, Richmond
This was the cutest roof the team at Ultimate Roofing has had the pleasure to replace.
Gerard’s Aspen style Textured metal tile in Charcoal was a perfect fit for the Tea House at Washbourn Gardens.
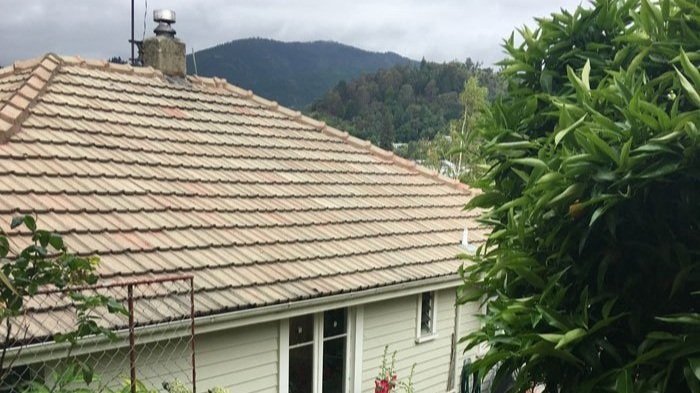
Elizabeth Street, Richmond
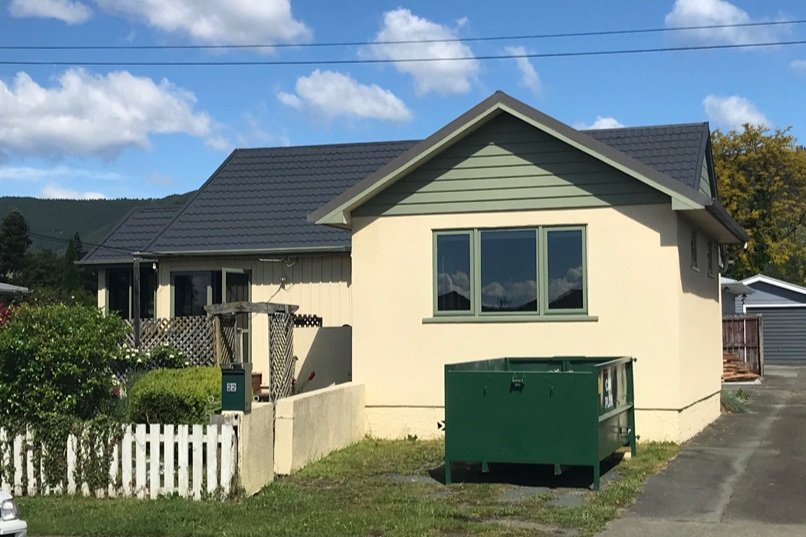
This old concrete tile roof was replaced with Gerard Classic Satin Smoke Grey steel tiles, giving the owner peace of mind with a lighter load above on the roof.